
Step 1 & 2
How to attach any haynet to the Hoienet.
Step 3
A few simple steps and you are done.
Picture Guide How To

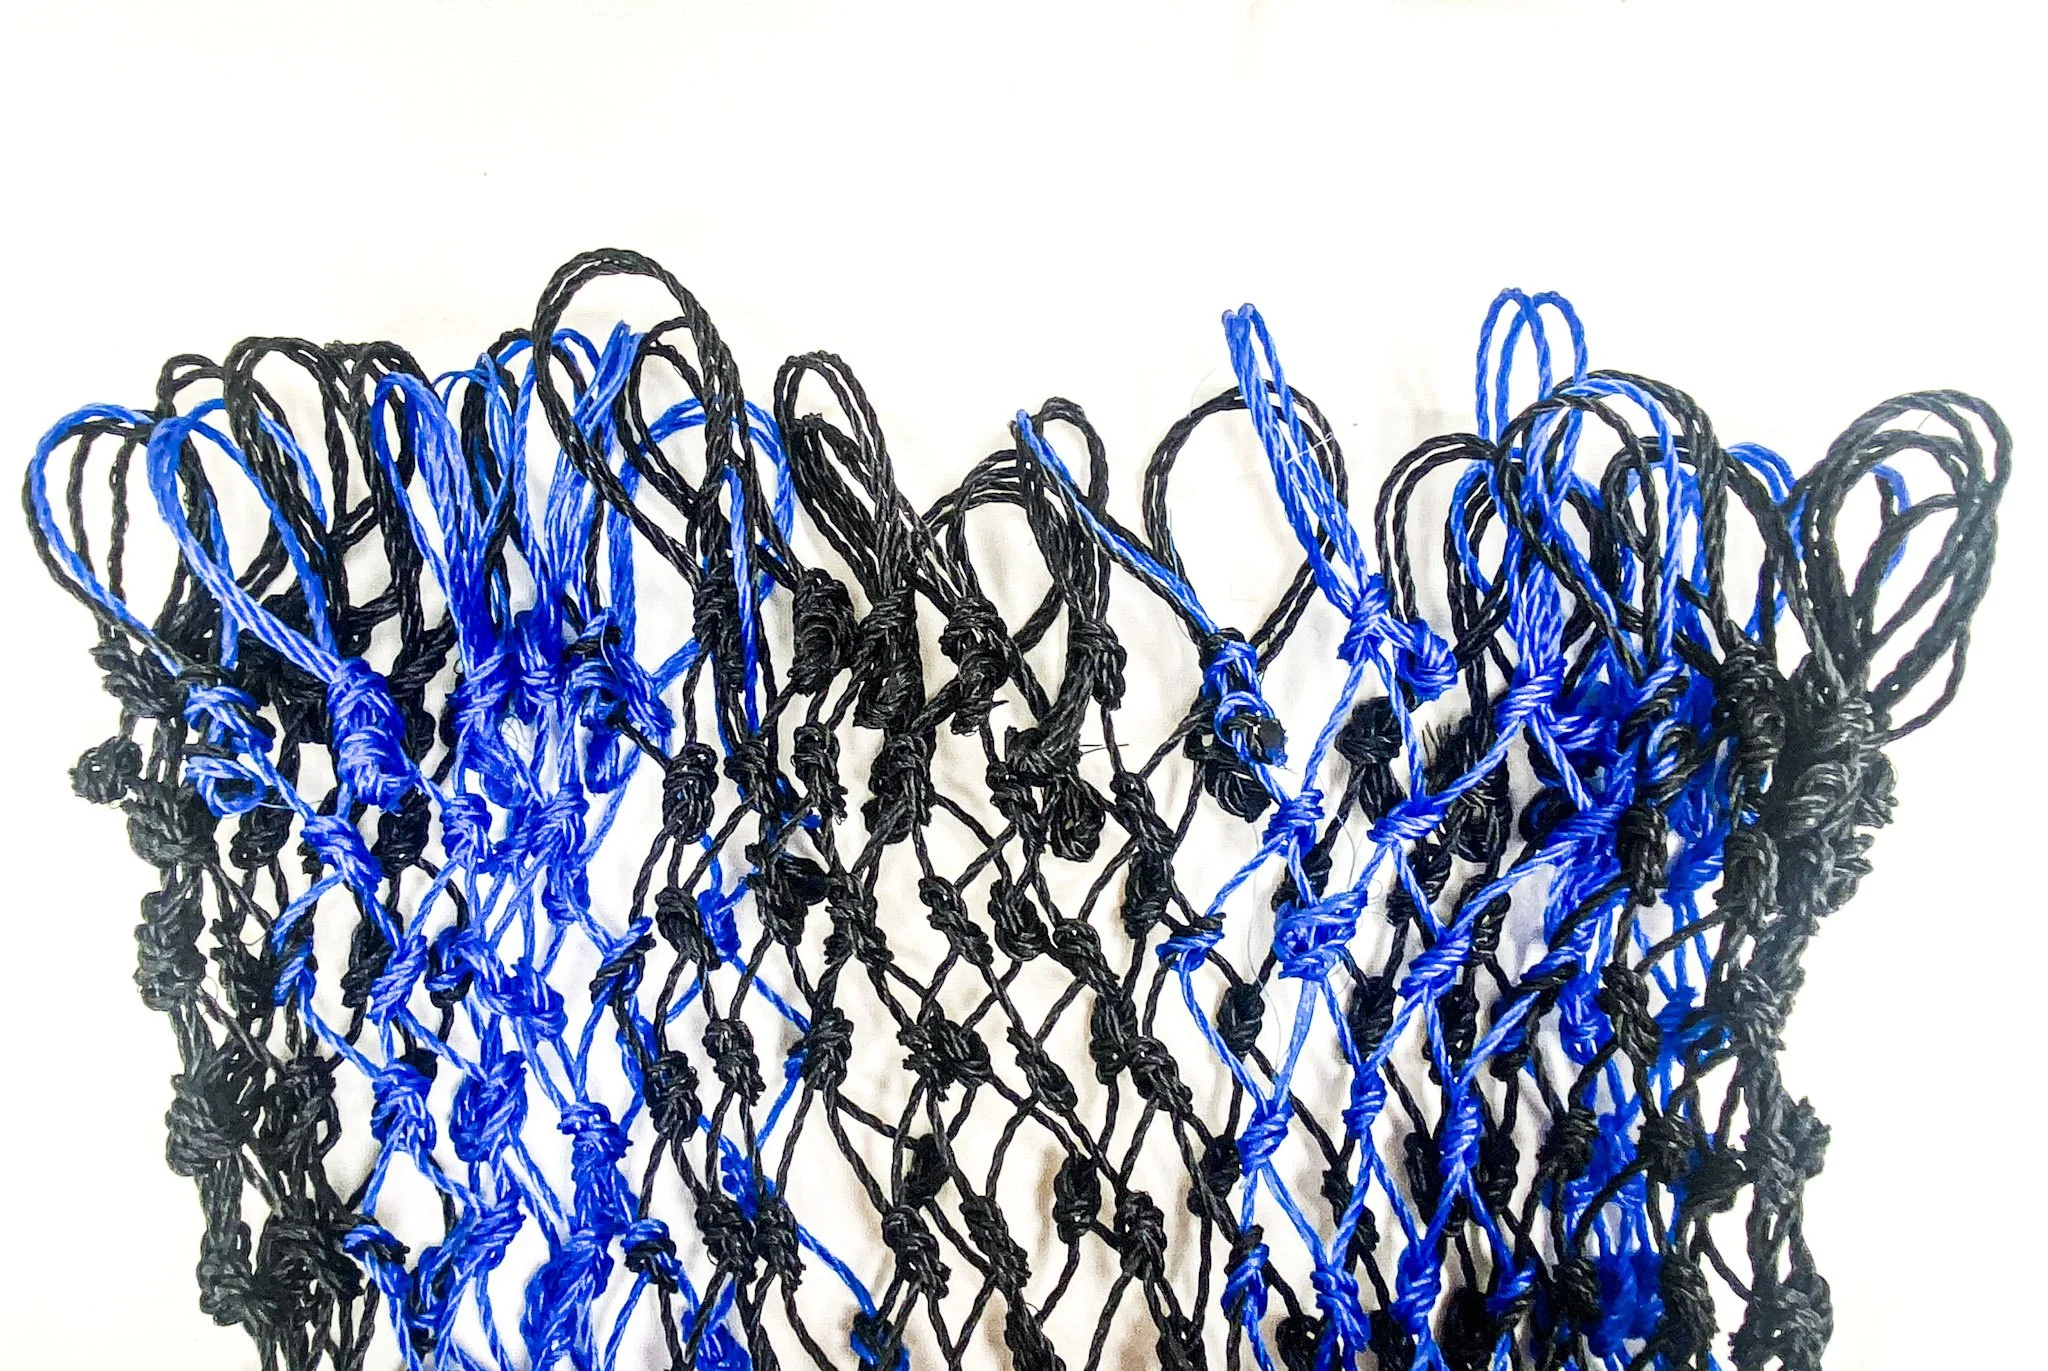


STEP 1: Remove cinch string from your preferred haynet
STEP 2: Count your loops
Count how many loops are at the top of your haynet once the cinch string is removed
Divide that number by 4 as that is how many loops you will attach to each “quarter” of the Hoienet
The Hoienet has four “quarters”
This picture shows the inside of an open Hoienet with each “quarter” marked
The small holes are to “weave” your haynet onto the Hoienet
STEP 3: Attach your haynet to the Hoienet
There are four strings included with your Hoienet
One string is used for each “quarter” of the Hoienet
Tie a knot on the end of each string before weaving through the Hoienet
Start from the outside of the Hoienet
Start from the outside of the Hoienet
Weave the string through the first hole on one “quarter” of the Hoienet
Go through one or more loops of your haynet (this will vary from haynet to haynet depending on how many top loops are on your net).
Then feed the string through the next hole
Continue that process for the entire quarter
When you get to the end of the quarter tie a knot to secure that section
Repeat for each section
Then you’re Done!
Finished quarter-Inside view
Finished-Inside View
You will most likely have 2-3 loops that do not attach in the middle of the Hoienet (see image)
That is fine! Just pull those unattached loops to the front (see next image) to allow the Hoienet to close properly
Finished-Outside View Close Up
*See unused loops pulled to the front